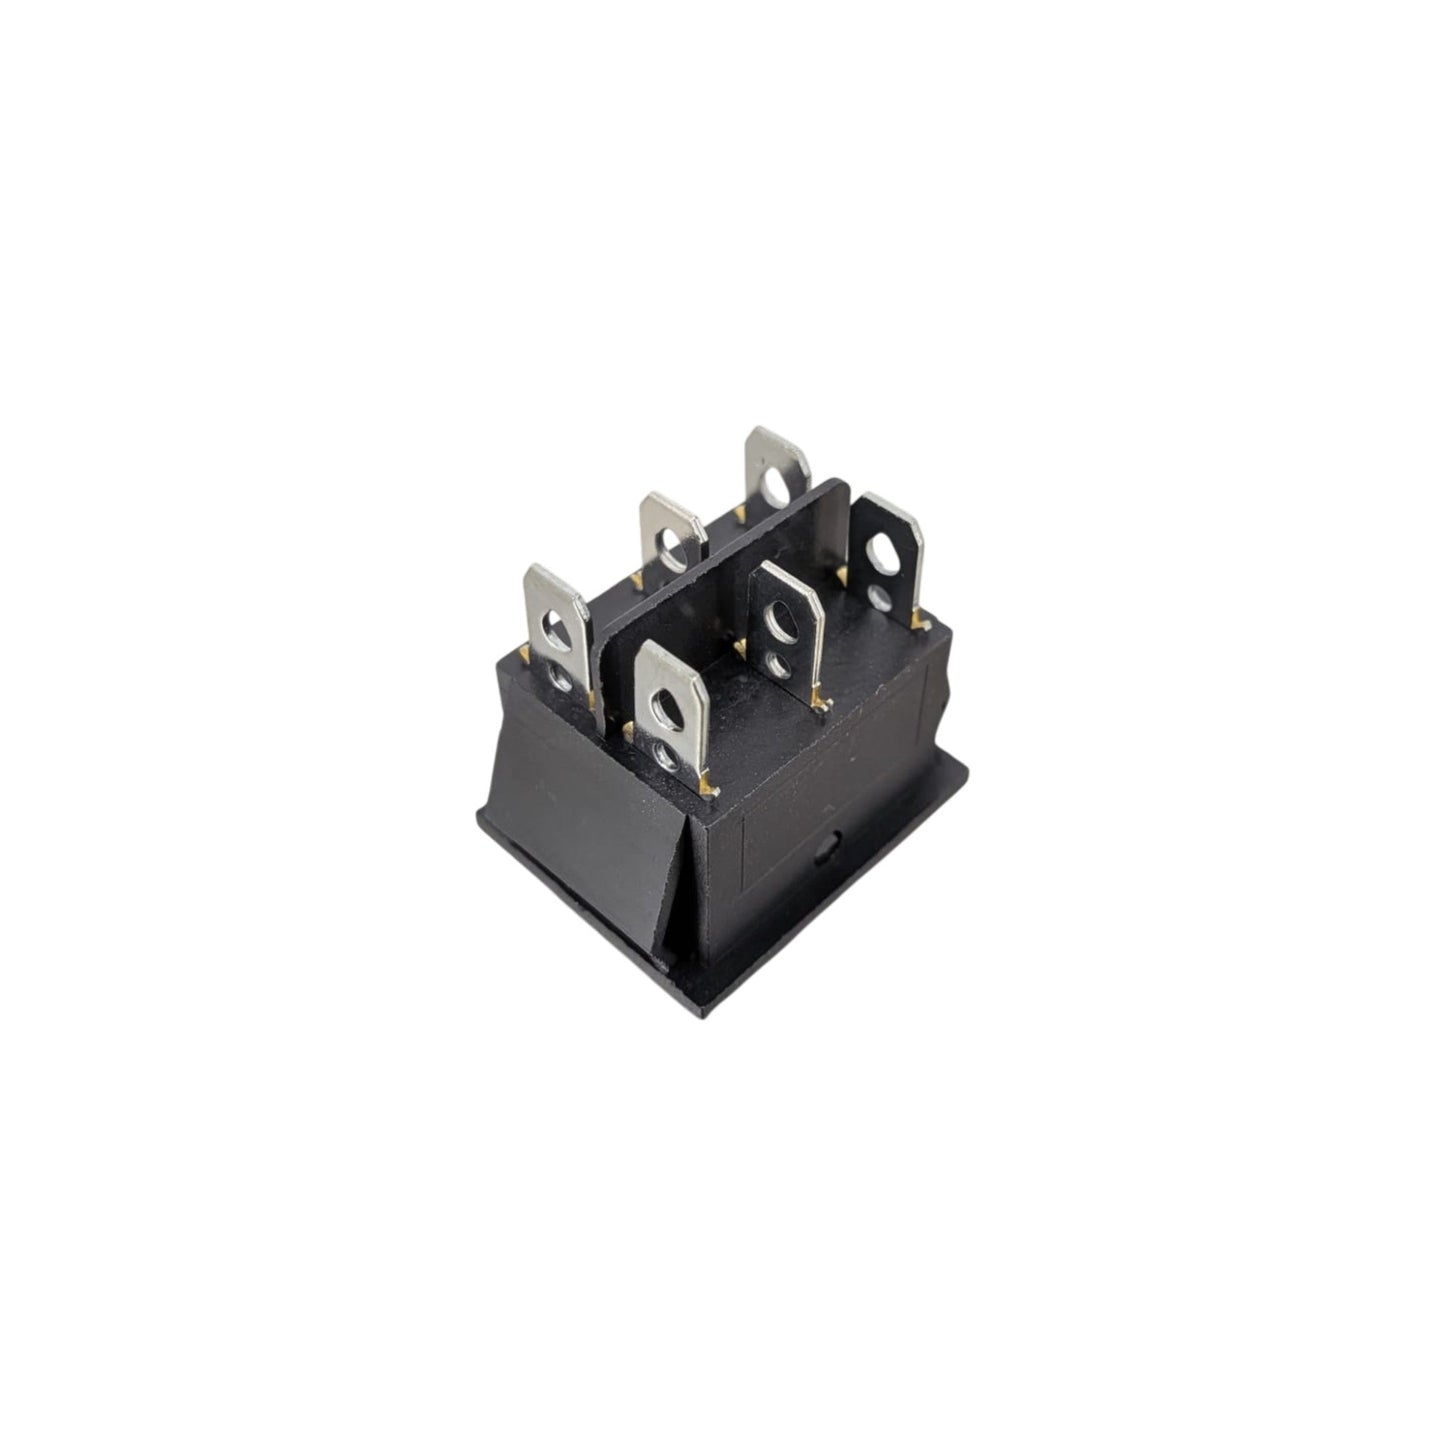


KCD4 6-Pin DPDT Rocker Switch | 3-Position Forward/Reverse Control
KCD4 6-Pin DPDT Rocker Switch | 3-Position Forward/Reverse Control
Couldn't load pickup availability
Delivery Options
Delivery Options
- Local delivery within Hong Kong and in-store pickup.
- Free shipping for orders of HK$400 or above; HK$35 shipping fee for orders below HK$400.
- Shipped by SF Express, usually dispatched the same day for orders confirmed before 6:00 PM (Mon–Sat).
- Estimated delivery time: 1–3 business days after dispatch (Hong Kong).
- In-store pickup details (location and time) will be confirmed by email or phone message.
- Delivery times are estimates and may be affected by weather or unforeseen circumstances.
Reliable Polarity Reversal for DC Motors
This 6-Pin DPDT Rocker Switch is the ultimate mechanical solution for controlling the direction of DC motors and linear actuators. By utilizing a Double Pole Double Throw (DPDT) internal configuration, this switch allows you to easily reverse the positive and negative power flow to your connected devices. This makes it an essential component for STEM students and RC hobbyists building custom robotic arms, motorized winches, or automated sliding doors that require precise forward, stop, and reverse commands.
Heavy-Duty 16A Current Capacity
The KCD4 3-Position Switch is built to withstand demanding electrical loads, featuring a high-capacity rating of 16A at 250V AC and 20A at 125V AC. The internal contacts boast a low contact resistance of just 50mΩ, ensuring minimal heat generation and maximum power delivery to your high-torque motors. Encased in a durable, flame-retardant plastic shell with an insulation resistance of 100MΩ, this switch guarantees long-term safety and reliability in both household and industrial DIY applications.
Pro Tip from Our Technicians
To wire this switch for motor reversing, our Sham Shui Po technical team advises using the "cross-wiring" method. Connect your incoming power (positive and negative) to the two middle pins. Next, connect your motor to the two top pins. Finally, solder two jumper wires in an "X" pattern connecting the top-left pin to the bottom-right pin, and the top-right pin to the bottom-left pin.