-
ELECFREAKS IoT:bit WiFi Expansion Board for micro:bit (ESP8266)
Regular price $784.00 TWDRegular price -
KEYES LilyPad Buzzer Module for Arduino & Micro Bit (Wearable)
Regular price $63.00 TWDRegular price -
1-Channel Relay Module with High/Low Level Trigger (5V/12V/24V)
Regular price $50.00 TWDRegular price -
Keyestudio DIY Crocodile STEM Kit for Micro:bit & ESP32 (KS0802)
Regular price $825.00 TWDRegular price -
24AWG Red/Black Zip Wire - Tinned Copper Hook-up Cable (80°C 300V)
Regular price From $17.00 TWDRegular price -
Yahboom Tiny:bit Pro AI Visual Robot Car Kit for micro:bit (K210)
Regular price $2,860.00 TWDRegular price -
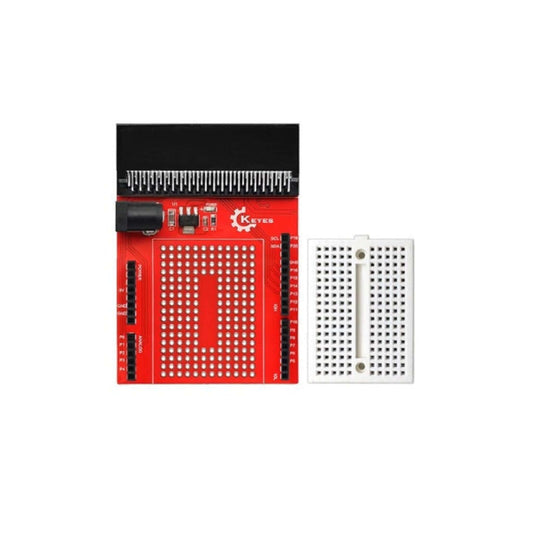
micro:bit IO Expansion Board with 170-Point Breadboard
Regular price $162.00 TWDRegular price -
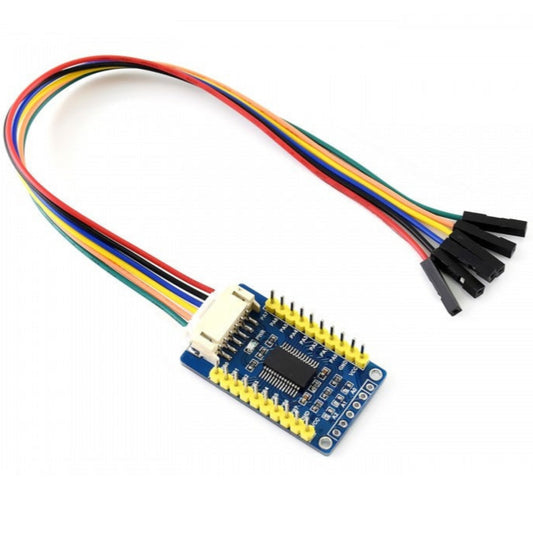
MCP23017 I2C 16-Channel IO Expansion Board - 3.3V/5V Compatible
Regular price $369.00 TWDRegular price -
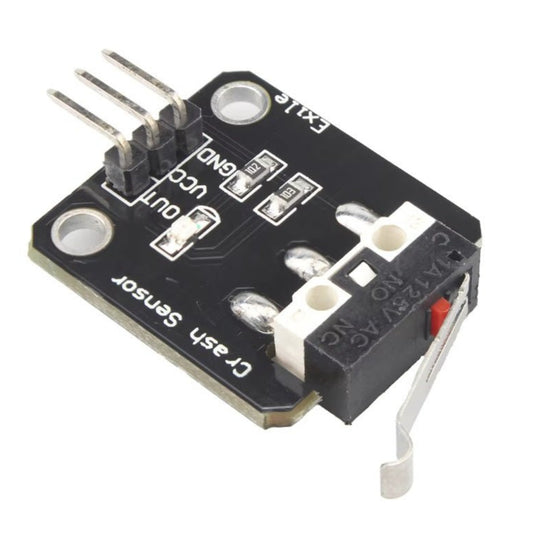
3-5V Micro Switch Collision Sensor for Arduino & Robotics
Regular price $50.00 TWDRegular price -
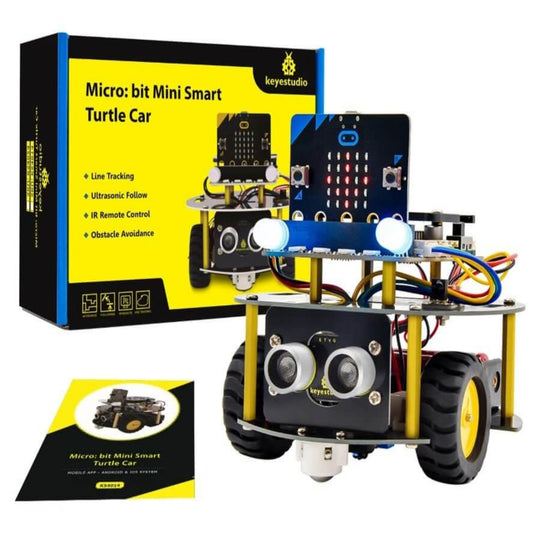
Keyestudio Micro:bit Mini Smart Turtle Robot Car for STEM (No Micro:bit)
Regular price $1,654.00 TWDRegular price -
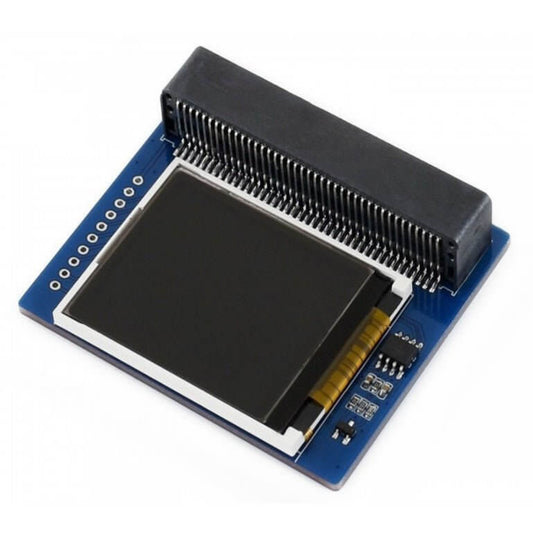
1.8" Colorful Display Module for micro:bit (160x128, 65K Colors)
Regular price $697.00 TWDRegular price -
Keyes 4-Channel 5V Relay Shield for BBC micro:bit
Regular price $270.00 TWDRegular price -
Yahboom Micro:bit V2 RGB LED Ring Expansion Board | STEM Kit
Regular price $411.00 TWDRegular price -
Yahboom Micro:bit Gamepad for Robotics & STEM Education (No Board)
Regular price $560.00 TWDRegular price -
Keyestudio Micro:bit V2 DIY STEM RGB Lamp Kit | Voice & Remote Control
Regular price $825.00 TWDRegular price -
Keyestudio Micro:bit STEM DIY Catapult Learning Kit (KS0807)
Regular price $825.00 TWDRegular price


Micro:bit Expansion Boards & STEM Kit Specifications
To truly leverage the power of the Micro:bit, you need the right expansion modules. Here is a technical breakdown of our core educational components:
| Component Type | Key Technical Features | Best Use Case |
|---|---|---|
| Micro:bit V2.2 Board | 32-bit ARM Cortex-M4, Built-in Mic, Speaker, Touch Logo | The core brain for all STEM coding and IoT projects. |
| I/O Expansion Boards | Converts edge connector to standard 2.54mm pins | Essential for connecting multiple servos, sensors, and breadboards securely. |
| Smart Robot Kits | Includes motor drivers, line-tracking, and ultrasonic sensors | Teaching robotics, kinematics, and block-based coding (MakeCode). |
| AI & Vision Sensors | Built-in machine learning algorithms, I2C/UART interface | Advanced object tracking and facial recognition for smart home setups. |
Important Note (Power Limitations & Burn Hazard): The Micro:bit's edge connector pins can only output a maximum of 3.3V and a very low current (around 90mA total across all pins). You cannot drive DC motors, heavy-duty servos, or long LED strips directly from the Micro:bit pins. Doing so will instantly overload and fry the board. You must use a dedicated Motor Driver Expansion Board with an external battery pack to power mechanical components.
Frequently Asked Questions (FAQ)
Q: Can I use my old Arduino sensors with a Micro:bit?
A: Yes, but with strict voltage precautions. Most traditional Arduino sensors operate on 5V logic, while the Micro:bit strictly uses 3.3V logic. Sending a 5V signal directly into a Micro:bit GPIO pin will destroy the chip. You must use a 3.3V/5V Logic Level Converter or choose sensors specifically designed for 3.3V operation.
Q: What is the difference between Micro:bit V1 and V2.2?
A: The V2.2 features a significantly upgraded processor, a built-in speaker, a MEMS microphone, and a touch-sensitive logo. If you are following modern STEM tutorials involving sound generation or voice recognition, you must use the V2.2, as the V1 lacks these hardware capabilities.